Making a globe is an in depth, multi faceted, step by step process that requires the same amount of set up work to produce a single globe or 10,000+
It all begins with design and artwork. Each color in the design is drawn by hand using some form of reference material, and, the quality of the finished globe is almost entirely reliant on the quality of the reference material used.
If it is a low quality image, a poor photo, perhaps taken at an angle, from too far away, or out of focus, that is going to be reflected in the artwork re-created from that image.
However, a high resolution photo, or better, multiple photos, showing every small detail, of the front and back side of an original globe face, with measurements for reference, this will result in a finished globe with the look and feel of the original.
Similarly, if original artwork is available in a digital format, created by a graphic designer / sign shop, in a line art or vector format, then the finished globe will be an exact copy of that high quality artwork.
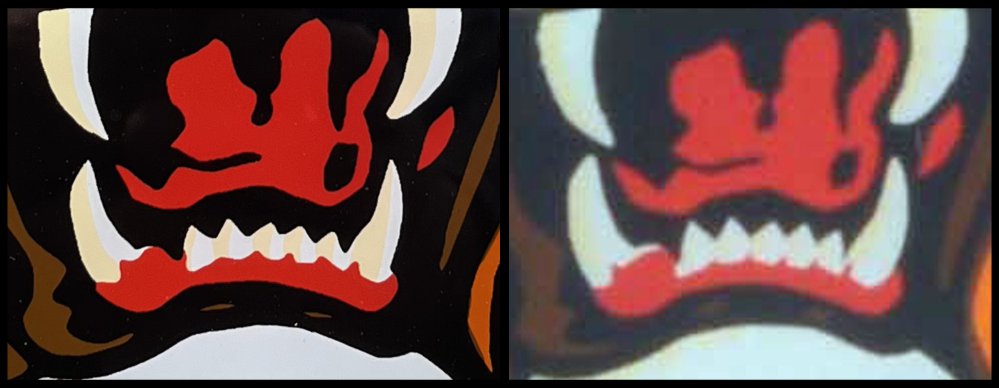
The example below shows the same image, the one on the left is a close up, high resolution photo, while the same image on the right, was taken in low resolution and in poor lighting, both images are close to the actual life size as on the original globe that was photographed, but the difference is obvious.

Once the artwork is done, the first step of production begins which requires screen printing onto glass. Each color of the globe face requires its own screen, a device whereby mesh fabric is stretched across a frame and secured to it. The screen is coated with a light sensitive emulsion and left to dry. Each separate color in the artwork is printed out onto a transparent medium with special highly opaque black ink. These are called ‘film positives’.
Once the film positives are printed out, they are lined up onto the screens in a darkroom and then exposed to UV light to ‘burn’ the design into the screen. This process is called ‘imaging’. The UV light basically hardens all the emulsion in the screen everywhere except for where the light is being blocked by the design.
Once the screen is burned, the design is washed out of the screen mesh with a pressure washer. This leaves the mesh open and allows ink to pass through the screen leaving only the desired design, effectively leaving you with a stencil, this process is repeated for each color in the design. Printing is done with with special glass ink, layer by layer, one color at a time, done over multiple days.
Lastly, the glass is fired in a kiln to fuse the ink onto the glass, as well as creating the convex shape of the face. Once fired, each face is inspected, detailed, polished and if required, it is notched.
How much does it cost to make a globe?
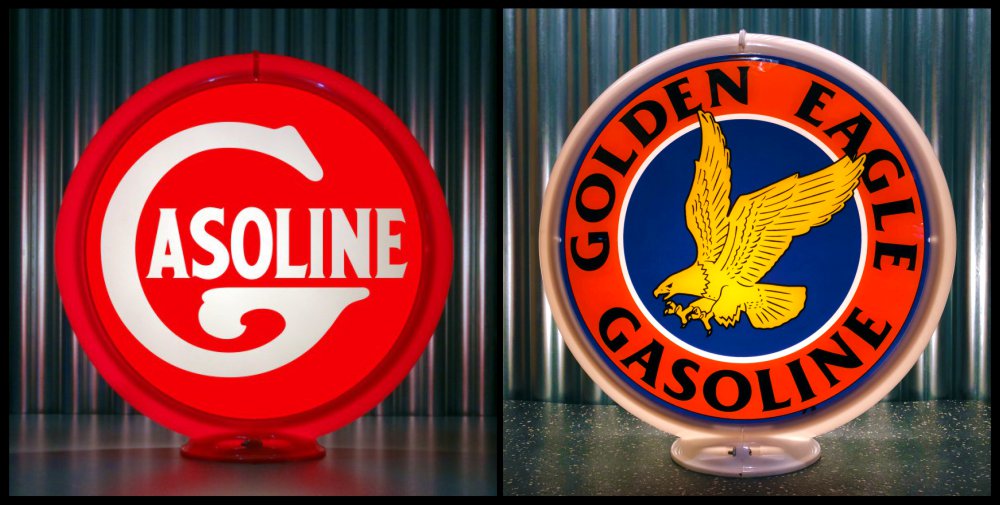
The short answer is, it's complicated, but we do have a formula. This is because of the setup required that we explained above, but, pricing is also based on volume. As an example, the 2 custom globes below price out different for many reasons.
The one on the left is very basic, it took less that an hour to design, it only uses one screen, and only needed one positive. The cost to produce a single globe, being 2 glass faces and a plastic frame, would be $450, but if you made 10, the price is only $130ea.
The one on the right is more complicated, it took 6 hours to design, uses 4 screens screens, which means 4 positives. The cost to produce a single globe, being 2 glass faces and a plastic frame, would be $965, but do 10 and they would be $192ea.

How long does it take to make globe?
As a rule of thumb, custom globes take 10-12 weeks from the date the artwork is approved to being completed and ready to ship. However, whenever possible, we will try to squeeze your project in sooner as our schedule permits.
There can be any number of other factors that come into play, depending on the project, but that's the basics. Just know that great reference material is the most important factor, and pricing goes down as volume goes up. If you have a project, and would like a quote, send us an email to sales@pogosgarage.com or send a message below.
